Finishing a home renovation or new construction project is an exciting milestone, but stepping into the completed space often reveals a thick blanket of fine drywall dust, sawdust, paint overspray, and construction debris. Standard housekeeping will not cut it when facing post-build grime.
Tackling a post-construction cleanup requires a specialized, systematic strategy to transition your property from a dusty work zone into a pristine, move-in-ready home.
Quick Answer
A post-construction cleaning checklist focuses on multi-pass dust removal from top to bottom, thorough debris clearing, deep sanitization of cabinets and appliances, and meticulous washing of windows, tracks, and floors. Because fine construction dust settles everywhere, cleaning must always proceed downward from ceilings and light fixtures to baseboards and flooring.
Safety Before Cleaning
Before stepping into a newly renovated property with cleaning supplies, prioritize safety:
- Ventilation: Keep windows and exterior doors open when weather permits, and run HVAC systems with fresh, high-efficiency filters to clear airborne particles.
- Protective Gear: Wear an N95 dust mask and rubber gloves to protect yourself from inhaling fine silica and drywall dust or handling harsh chemical residues.
- Sharp Debris Check: Scan floors for stray nails, screws, staples, glass shards, or jagged wood scraps before vacuuming or sweeping.
- Product Safety: Never mix cleaning chemicals (such as bleach and ammonia), and test specialized solvent removers on a small, hidden patch before applying them to new finishes.
Dust Removal
Start high, work down, and repeat passes
Fine construction dust has a frustrating habit of settling into the air and reappearing hours after you wipe it away.
Fine construction dust, vents, ledges, trim, and flat surfaces
- Ceilings & Fixtures: Start by dusting ceiling fan blades, light fixtures, and high architectural beams using a microfiber duster or damp cloth.
- Vents & Returns: Wipe down HVAC vent covers and replace construction air filters immediately to prevent circulating dust through your ductwork.
- Ledges & Trim: Clear dust from door frames, window ledges, mantelpieces, and flat furniture surfaces before touching the floors.
Walls
- Dry Dusting: Use a soft-bristled broom covered with a clean microfiber cloth or a dry mop to gently wipe drywall dust off walls from top to bottom.
- Corners & Trim: Pay special attention to upper wall corners and baseboard crevices where dust accumulates heavily during framing and sanding.
Cabinets
- Interiors & Shelves: Vacuum out drawers and cabinet interiors using a soft brush attachment to capture fine wood dust.
- Hardware & Exterior: Wipe down cabinet boxes, shelving, handles, and exterior doors with a damp microfiber cloth to eliminate lingering sawdust and adhesive smudges.
Windows
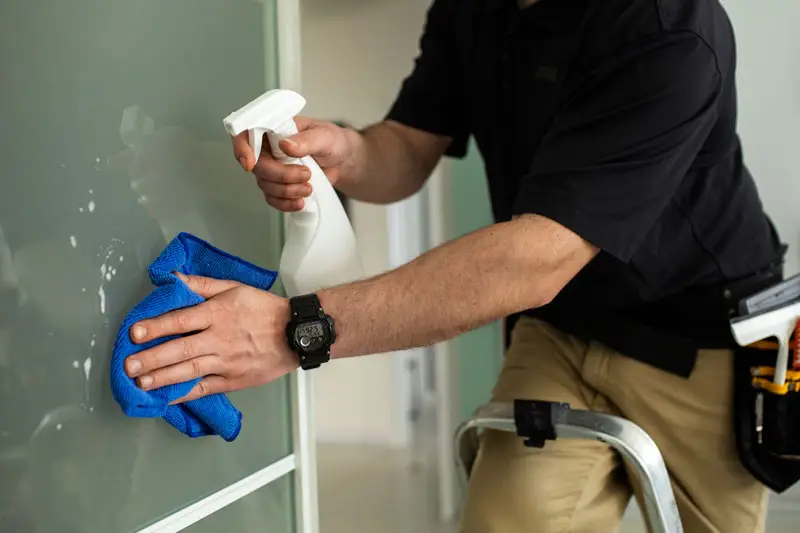
- Glass & Frames: Wash interior glass panes to remove paint specks, tape residue, and dusty film.
- Tracks & Sills: Vacuum and wipe out sliding window tracks, frames, and sills where mortar, dust, and debris collect.
- Sticker Residue: Use safe adhesive removers to dissolve leftover manufacturer stickers and protective plastic films on new glass and hardware.
Floors
Vacuum first, then mop based on floor type
- Vacuuming: Run a commercial-grade vacuum over carpets and hard floors multiple times. For hard surfaces, use a bare-floor setting to avoid scratching.
- Mopping Precautions:
- Hardwood: Use a damp (never soaking wet) microfiber mop with a pH-neutral cleaner.
- Tile & Grout: Scrub textured tiles and grout lines to remove dried mortar haze or thinset residue.
- Vinyl & Laminate: Use manufacturer-approved cleaners that won’t leave a hazy film over new flooring.
Final Walkthrough
Before considering the project complete, perform a detailed inspection pass:
- Touchpoints: Clean light switches, door handles, thermostats, and outlet covers.
- Residue Check: Inspect baseboards and corners for missed dust shadows.
- Fixtures: Polish metal plumbing fixtures and vanity mirrors to a streak-free shine.
FAQ
What is included in post-construction cleaning?
Post-construction cleaning includes exhaustive multi-pass dusting from top to bottom, removing paint and adhesive splatters, cleaning the insides of cabinets and drawers, washing windows and tracks, and deep cleaning all floors.
How do you remove construction dust?
Construction dust is best removed by starting at the highest points of the room (ceilings and lights) and working downward, using dry microfiber cloths to capture fine particles and following up with specialized vacuums equipped with HEPA filtration.
Should you clean walls after construction?
Yes. Drywall sanding and general construction leave a fine powder coating on vertical surfaces. Wiping down walls with a dry microfiber mop before cleaning floors prevents dust from settling downward later.
How long does post-construction cleaning take?
Depending on the home’s square footage, the extent of the remodeling work, and the level of remaining dust, a professional post-construction cleaning typically takes anywhere from one full day to multiple days.
Do I need professional post-construction cleaning?
Hiring professionals is highly recommended because standard household cleaning tools cannot effectively capture microscopic construction dust, remove tough adhesive residues, or handle specialized post-build cleanup safely and efficiently.